No visit to the salon required.
Do you want to have healthy, beautiful nails without spending a fortune at the salon? Look no further! In this ultimate guide to DIY nail care at home, we’ll show you how to maintain your nails using natural ingredients. From taking the right steps to nourish and strengthen your nails to removing stains and chipping polish, you’ll learn how to make your nails look their best with simple, affordable solutions.
Why Natural Nail Care is the Best Option?
Are you tired of spending a fortune on salon visits just to maintain your nails? Well, it’s time to say goodbye to those expensive trips and embrace the power of natural nail care at home. Not only is it more affordable, but it’s also a healthier option for your nails.
Natural nail care involves using ingredients that are gentle on your nails and free from harmful chemicals. By avoiding the harsh chemicals often found in commercial nail products, you can prevent damage, brittleness, and discoloration. Instead, you can nourish and strengthen your nails with simple, natural solutions.
One of the key benefits of natural nail care is that you can customize your routine to fit your specific needs. Whether you struggle with weak nails, dry cuticles, or stained nails, there’s a natural remedy for you. From DIY nail soaks to homemade cuticle oil, you’ll find a variety of options to address any nail concern.
Not only will natural nail care save you money, but it also gives you the opportunity to pamper yourself in the comfort of your own home. With the right tools and ingredients, you can create a spa-like experience and take care of your nails at your own pace.
So why not give natural nail care a try? Your nails will thank you for it!
Essential Tools for At-Home Nail Care:
Having the right tools is essential for successful at-home nail care. Here are some must-have tools to include in your nail care kit:
1. Nail Clippers: Invest in a good pair of nail clippers that are sharp and sturdy. This will ensure clean and precise cuts, preventing any accidental snags or tears.
2. Nail File: A high-quality nail file is crucial for shaping and smoothing your nails. Look for a file with a fine grit to avoid damaging the nail surface.
3. Cuticle Pusher: Keeping your cuticles healthy is essential for overall nail health. A cuticle pusher helps gently push back the cuticles, creating a clean nail bed and preventing hangnails.
4. Cuticle Nippers: For stubborn hangnails or excess cuticle buildup, a pair of cuticle nippers can be useful. However, use them sparingly to avoid over-trimming, which can lead to infections or damage.
5. Buffer: A nail buffer helps create a smooth and shiny surface on your nails. It’s great for removing ridges, giving your nails a polished look without the need for nail polish.
6. Nail Brush: A nail brush is handy for scrubbing and cleaning your nails thoroughly. It helps remove dirt and debris, promoting healthier nails.
7. Moisturizer: Don’t forget to include a nourishing hand and cuticle cream in your nail care kit. Keeping your hands and cuticles moisturized is essential for preventing dryness and promoting healthy nail growth.
By having these essential tools at home, you’ll be equipped to give yourself a salon-quality nail care routine. Remember, regular cuticle care at home is key to maintaining healthy, beautiful nails.
Taking care of your nails at home is a fun and rewarding experience. All it takes is 10 simple steps. Follow along for a mani so good you’ll have people asking where you got your nails done.
Now, here’s how to get healthy, beautiful nails:
Step 1:
Start by removing any existing nail polish. Use a non-acetone nail polish remover and cotton pads or balls to gently remove any old nail polish.
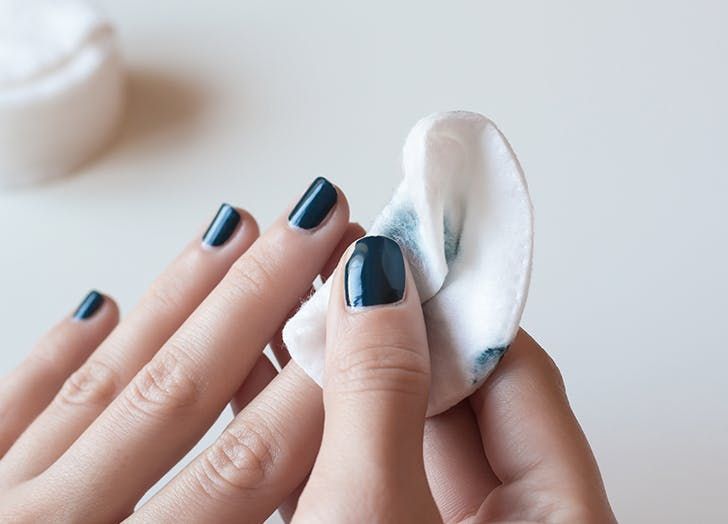
DIY home removal nail polish:
Several things with a few natural ingredients around your home can do the trick. Things like:
-Vinegar: A simple vinegar soak is a great way to remove nail polish without remover. Add 1/2 of a cup of warm water and 2 tablespoons of white distilled vinegar to a small bowl. Soak your fingernails in the solution for about 10 minutes. Wipe nail polish off with a cotton ball or cloth.
-Lemon: The citric acid found in lemons can help to break down and remove nail polish. To make the job easier, soak your fingernails in a bowl of warm water for a few minutes before removing the polish.Take a slice of a fresh lemon and rub it onto the nail, squeezing a little of the juice out. Wipe clean with a cotton ball.
Step 2:
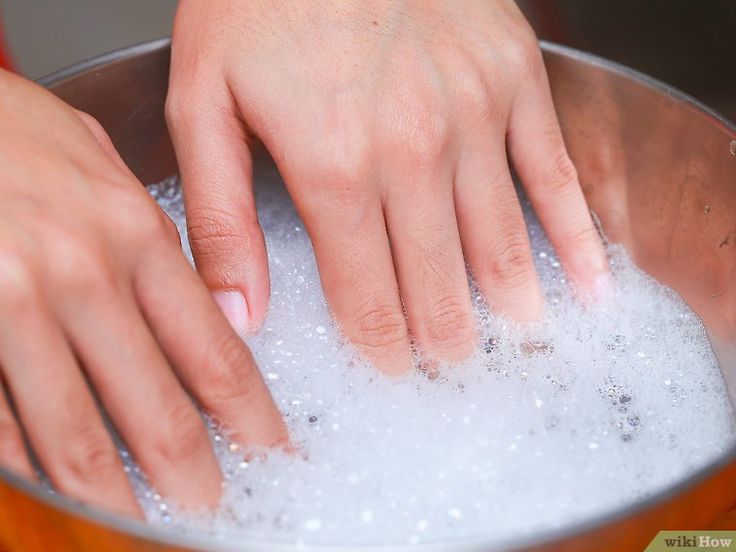
Soaking your nails in warm, soapy water for a few minutes can help soften cuticles and dirt, making it easier to clean them.
Step 3:
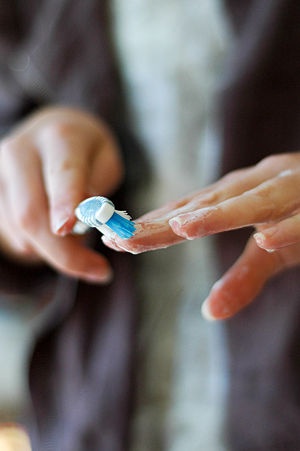
Clean under nails by using a nail brush or a soft toothbrush to gently scrub the area under your nails, removing any dirt or debris.
Step 4:
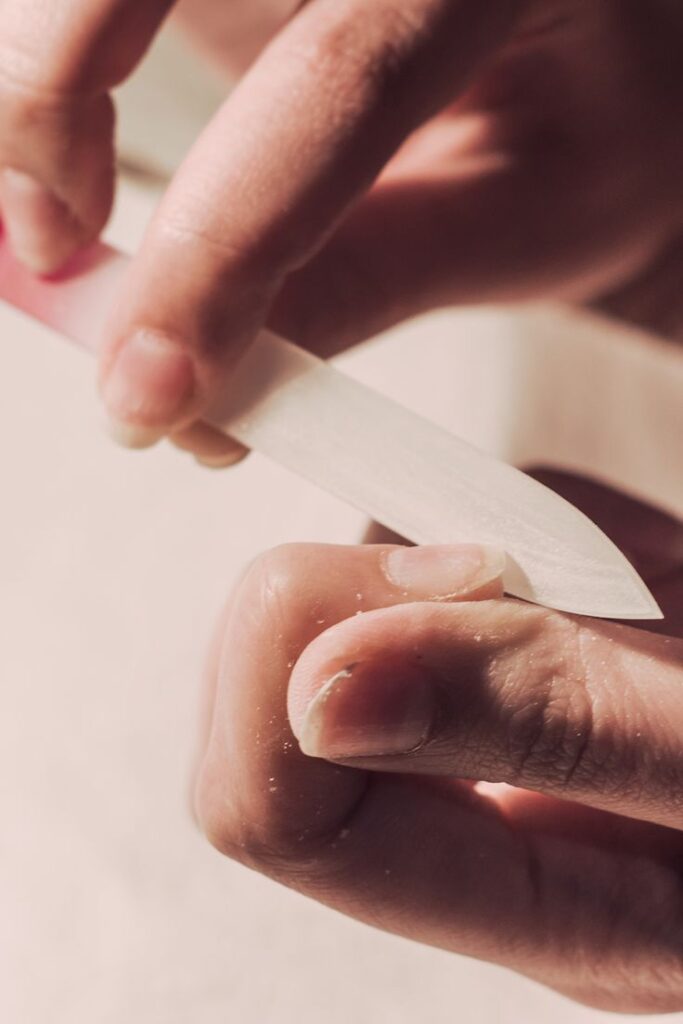
Trim and shape nails: When nails are clean, it becomes easier to shape them using nail files or buffers. Any excess length or rough edges can be easily smoothed out, resulting in a more aesthetically pleasing nail shape.
Step 5:
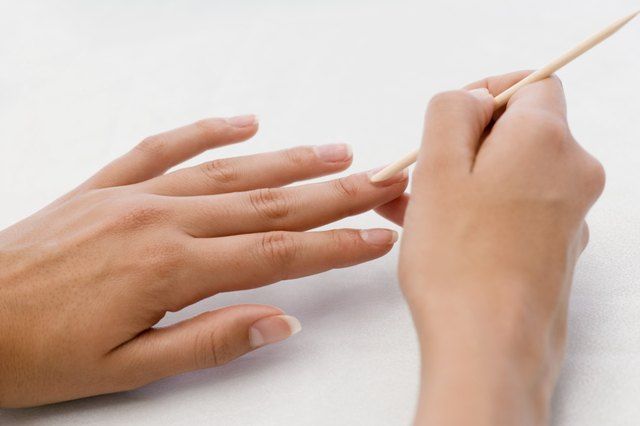
Gently push back the cuticles.
Step 6:
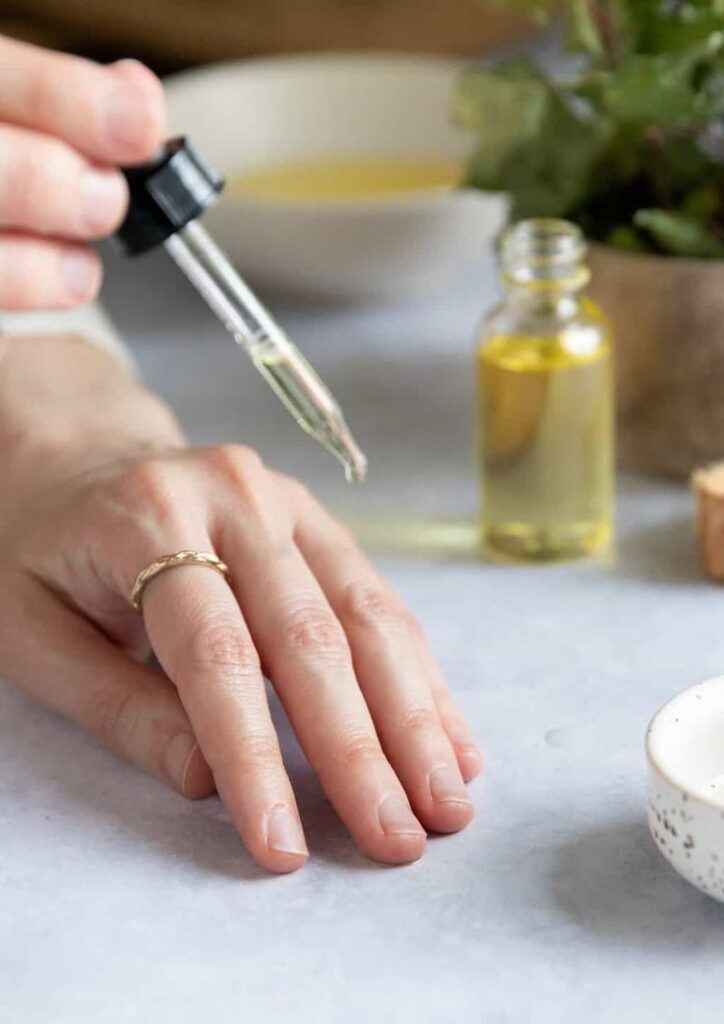
Moisturize your nails and cuticles with oils or creams to keep them hydrated and healthy.
DIY nail strengthener:
1/4 cup olive oil, 1 Tbsp lemon juice, and 2 Tbsp sea salt. Mix the ingredients in a bowl, then soak your fingernails for 10 minutes.
Step 7:
Nail Polish Application:
To achieve a professional-looking manicure, follow these steps:
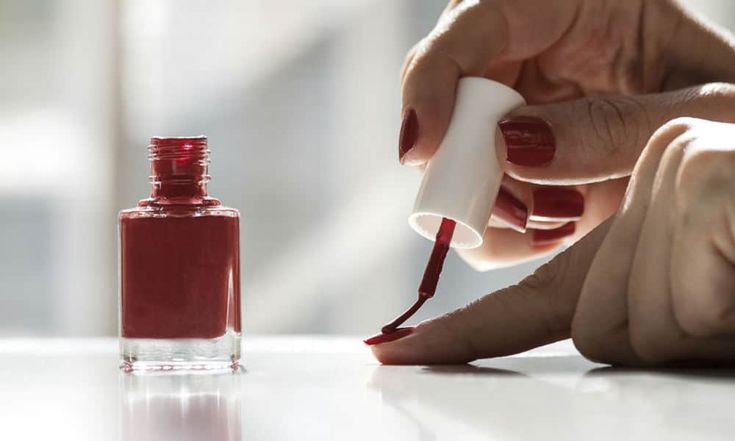
1. Apply a base coat to protect your nails.
2. Choose your desired nail polish color and apply it evenly.
3. Finish with a top coat for longer-lasting results.
Recommendations:
-Remember taking breaks from wearing nail polish occasionally to allow your nails to breathe.
-Choose a high-quality nail polish: When it comes to choosing nail polish, opt for brands that are free from harmful chemicals like formaldehyde, toluene and DBP. These chemicals can be damaging to your nails and overall health. Look for polishes labeled “3-free” or “5-free” for a healthier option.
Tip:
Put some petroleum jelly on a cotton swab or Q-tip, and rub it around your cuticles. Then apply the polish. Any polish that goes outside of the nail will be easy to wipe off. And as a bonus the Vaseline will act as a moisturizer for your cuticles.
Step 8:
Maintain your nail health by regularly moisturizing your nails and cuticles, avoiding harsh chemicals, and protecting your nails from excessive moisture or trauma.
Step 9:
Remember to regularly change your nail polish to prevent dullness and maintain healthy nails.
Step 10:
Protect your nails by wearing gloves while doing household chores or gardening to defend your nails from harsh chemicals, immoderate moisture, or trauma which can lead to breakage.
By following these steps and maintenance tips you can enjoy long-lasting results and keep your nails looking their best. So take some time for yourself, indulge in a little nail care, and show off your beautiful, healthy nails!
2 thoughts on “The Ultimate Guide to DIY Nail Care at Home: Say Goodbye to Expensive Salon Visits!”